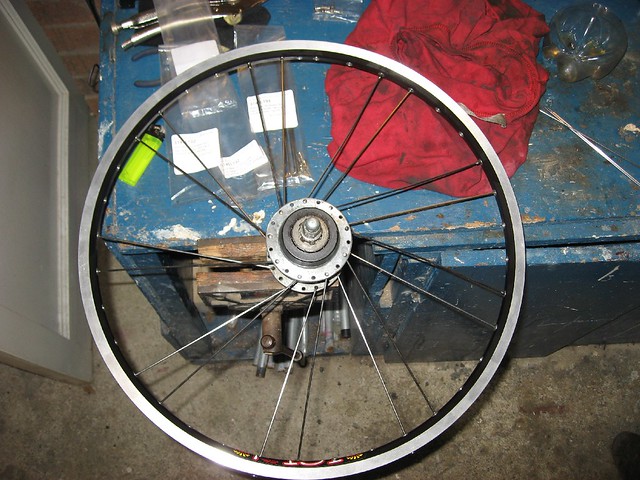
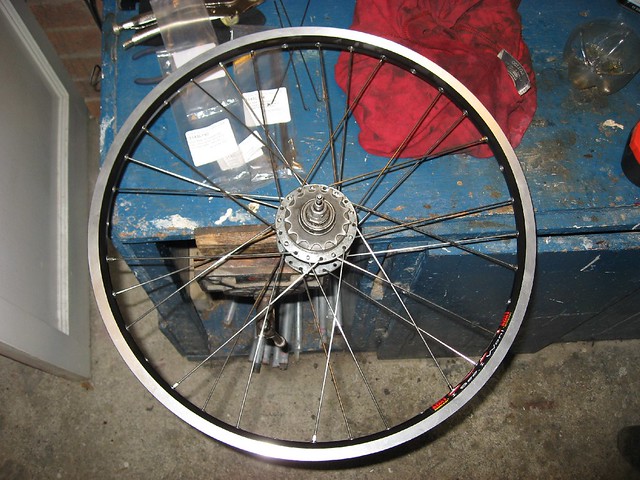
I've had my Nexus 8 hub for about 9 months now. In that time it's been ridden almost everyday of the week in all weathers, in particular through a very snowy winter period when temperatures were down to -9 at times. I bought it second hand off ebay, meaning it had done at least X? number of miles before I started riding it. I guess this means someone had already 'bedded in' the hub first so I can't comment on how the Nexus 8 runs during that period. I can however say for certain that it once bedded in and doing decent daily mileage the hub performs beautifully, smooth and reliably.
I commute a minimum of 15.5 miles per day and often do as much as 20 miles depending on the route, meaning the hub has been doing around 80 miles + on average per week.
My hub is the SG-8R31 which I think is the current standard model of the Nexus 8. The SG-8R36 being the premium redband version which is better in some way (possibly rated for off-road use, I'm not sure. The alfine certainly is for off-road use though and also takes a disc brake). If you google for reviews and info about Nexus 8 hubs it can be easy to be put off when you come across the odd forum thread or blog post complaining about their hub being ruined by water ingress. It's my guess that these issues will all be relating to earlier versions of the hub such as the original SG-8R20 which may have had different designs of seals.
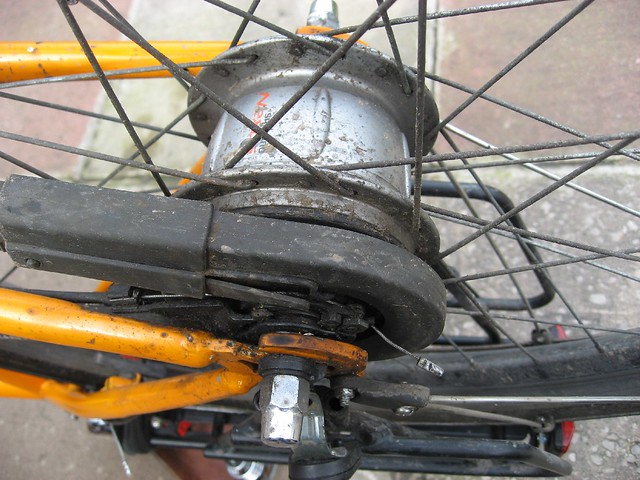
The other possibility is that the issues have arose on hubs which have a roller brake fitted. If I was to fit a roller brake to my hub it would involve removing the plastic cover and an aluminium cap from one side to reveal the roller brake attachment. The problem with this that those two items do a very good job of sealing the hub on this side, without them - maybe the roller brake is not as good at providing a seal. This is total speculation on my part, but it does make sense when you are examining the hub itself. All I can say for my hub is that water ingress has not been a problem whatsoever. & this hub has been ridden straight through the middle of lakesized puddles, torrential Mancunian downpours and freezing snowy mornings.
The shifting is even and smooth. It is much easier to change down a gear than it is up. That's not to say it's difficult to change up gear, it's just extremely easy to change downwards. You can literally flick the hub right down the gears with one finger, even when under a mild pedalling load, which is a joy when you need to quickly lower the gearing on the go (Something you would struggle to do on a derailuer). The grip shifter is a decent piece of kit, but the plastic screen is quite susceptible to being scratched when you have the bike upside down (such as when fixing a puncture on the street).
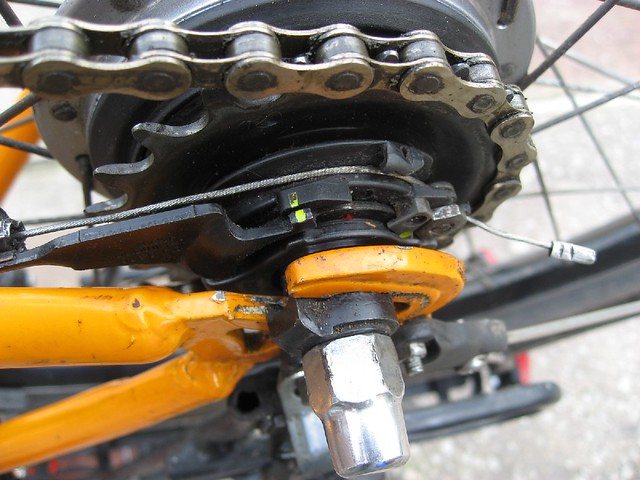
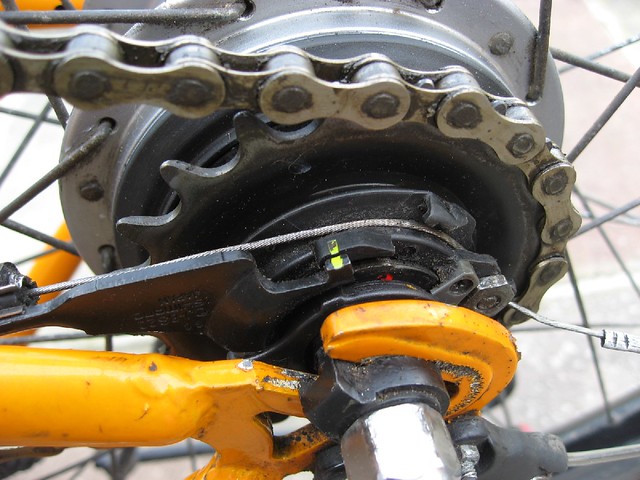
A huge bonus of hub gears is that they are very easy and simple to adjust and once adjusted they are much less likely to need anymore attention - unlike a derailuer gear setup. The Nexus takes this a step further, as there are yellow alignment markers on both the top and bottom of the hub. With the hub in 4th gear, when these markers are aligned - then it's adjusted correctly. That's it, job done. This makes the Nexus even easier to adjust than a Sturmey Archer, which can require a bit of trial and error to get it adjusted correctly.
For the first few months I was riding the hub whilst using SPD clipless pedals, it works just as well in this setup as it does with flat pedals. When Shifting you just have to ease off the pedalling more when using SPDs than you do without.
So in conclusion of this rather ramshackle review here's a few of my main pro's:
- One gear shifter
- Extremely easy adjustment (almost fit & forget)
- Allows the use of a Hebie Chainglider
- Totally sealed and virtually silent gears
- Wide 306% range of gears is more than enough for anything I've needed (there are some big hills around here)
I'm not going to do a list of con's because there really aren't any when you compare it to the alternatives. OK if you want absolute lightness to gear range ratio than a derailuer is better, but this hub is not for racing, it is for town and commuting bikes which need reliability, minimum maintenance and a decent gear range for a decent price. Of all those aspects I don't think there is much else that can beat it. Obviously a Rohloff or other examples are better in their own respects, but factor in the price and a Nexus 8 takes the prize for me on my commute. I'm not saying I wouldnt' want a Rohloff, a Nuvinci, a Sturmey 8, or Sram - I'd love to have them all ;-) but a Nexus 8 is what I've got and I'm very pleased with it.
Now onto the regreasing. Last week I came across this excellent post by The Golden Wrench & whilst my hub felt fine and was still running as nice as the day I first got it I decided there was no harm in finally opening it up for the first time and regreasing the outer bearings as a purely preventative bit of maintenance.
Before you start this, bear in mind that although I know a little more than your average joe about hub gears, I'm not a qualified bike mechanic and I'm happily making this up as I go along. - take apart your expensive shimano hub gear at your own risk - not on my guidance ;-)
So lets get started:
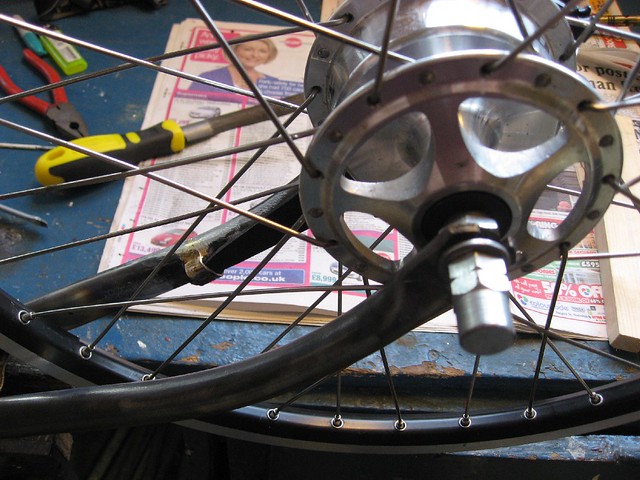
The hub still in the frame. It's covered in road dirt and I need to remove my Hebie Chainglider in order to remove the wheel.
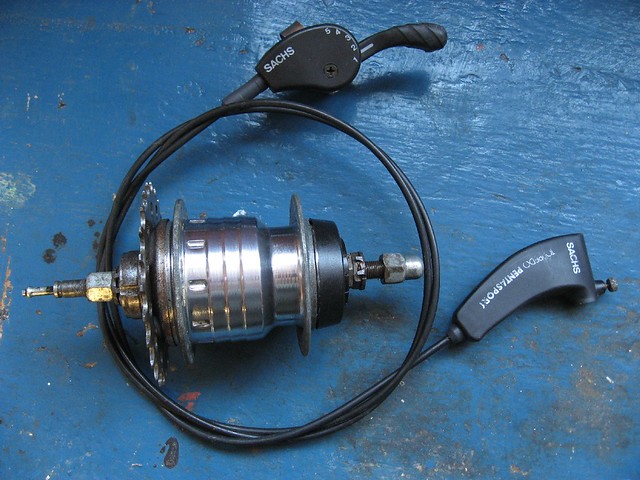
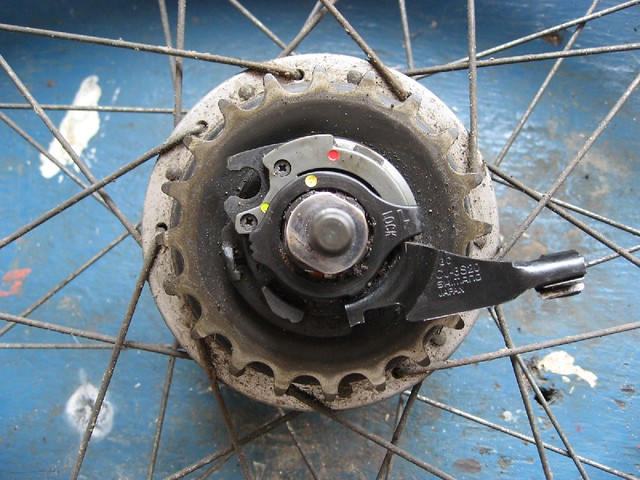
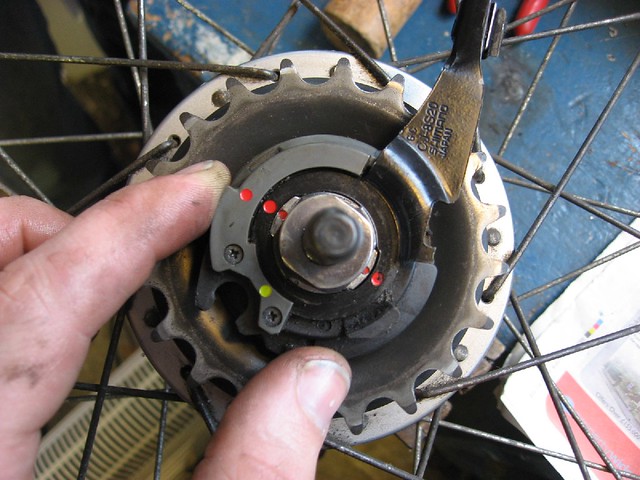
This is the outer gear changing mechanism. It removes very easily by twisting the lock ring in the opposite direction to the arrow (which lines up the yellow dots)
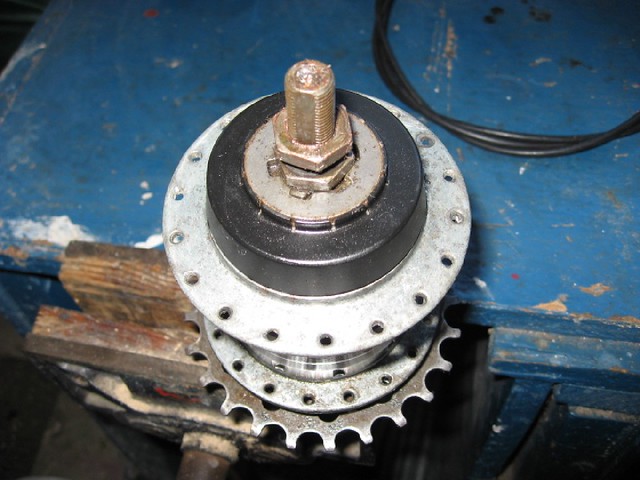
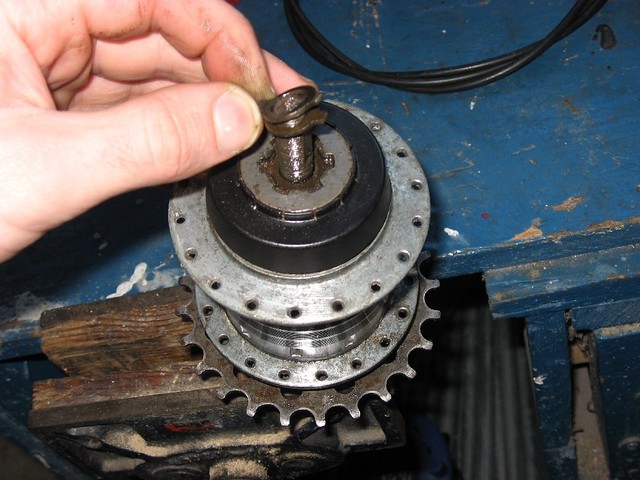
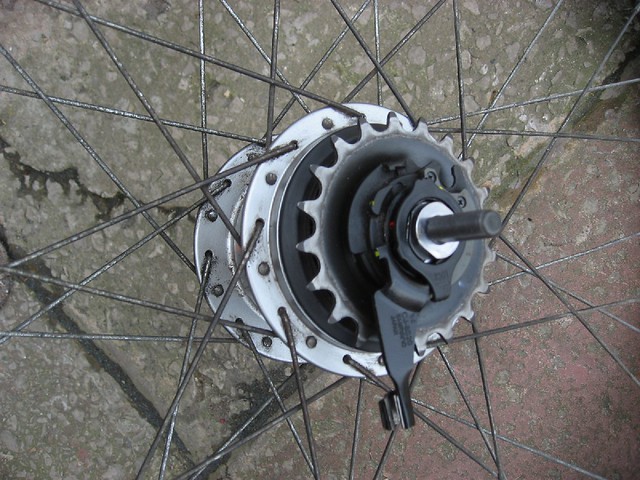
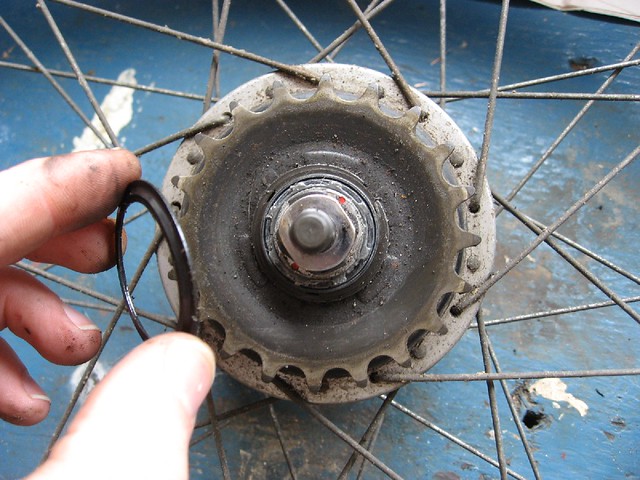
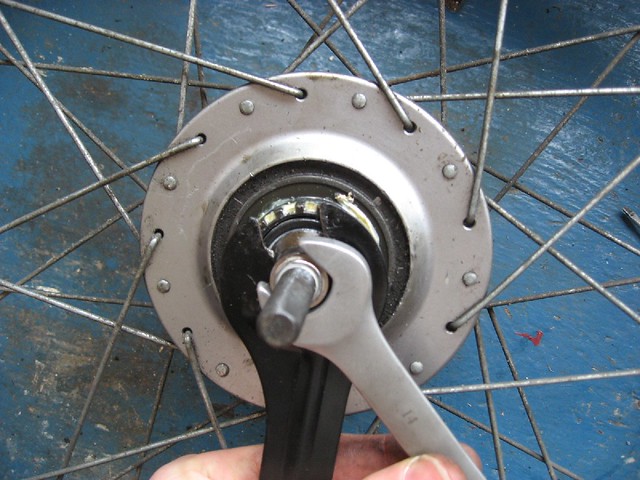
With the mechanism removed, you reveal a locknut, some more gear changer parts and the clip for holding the sprocket in place. There is a little plastic ring cap which just prises off (that's what I'm holding)
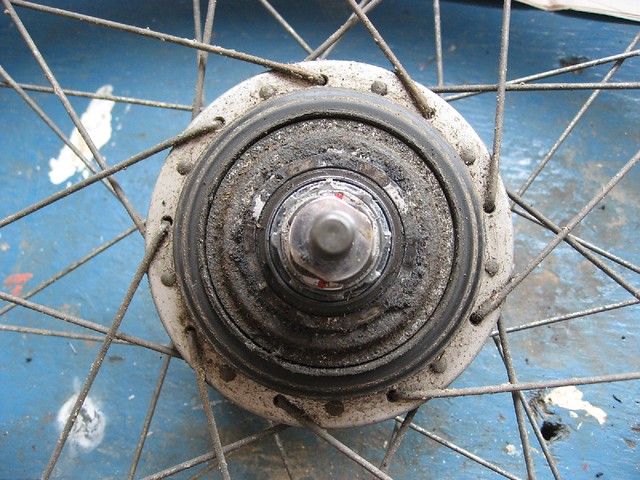
With the sprocket removed, you can see how dirty it is behind. This is no problem and even after I've cleaned it this grime will build up again after a bit of use.
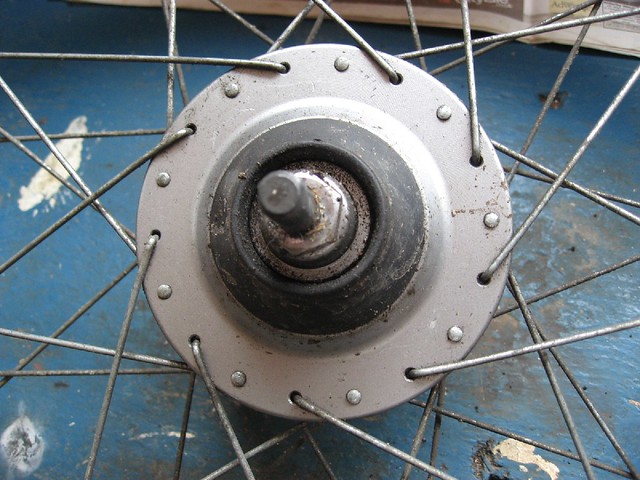
Flip the hub over and we have the plastic cover which protects the rollerbrake attachment. Remove the big nut and prise off the plastic cover along with the aluminium cone.
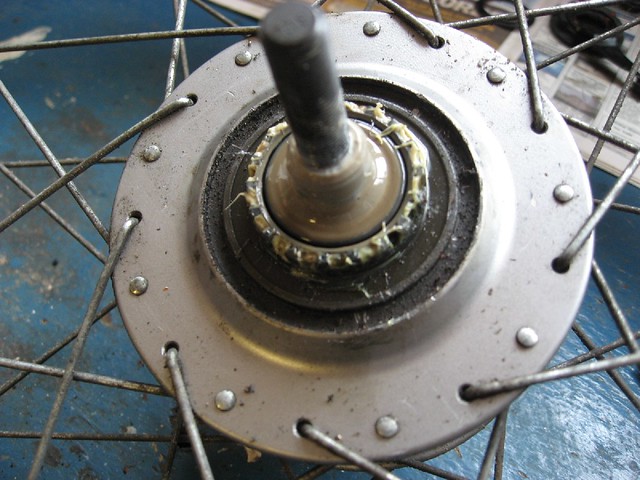
Underneath we find the rollerbrake attachment and the top of the bearing cone. This grease had mixed with water a little, but this is outside of the hub. Some time around this point I gave the wheel and the outside of the hub a bit of a clean to remove any loose crap. I'm not totally relubricating the hub here, so I don't want any loose crap getting inside the depth of the gears by accident.
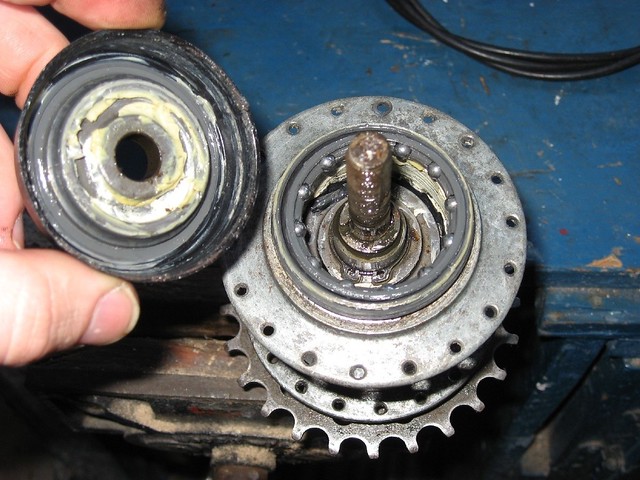
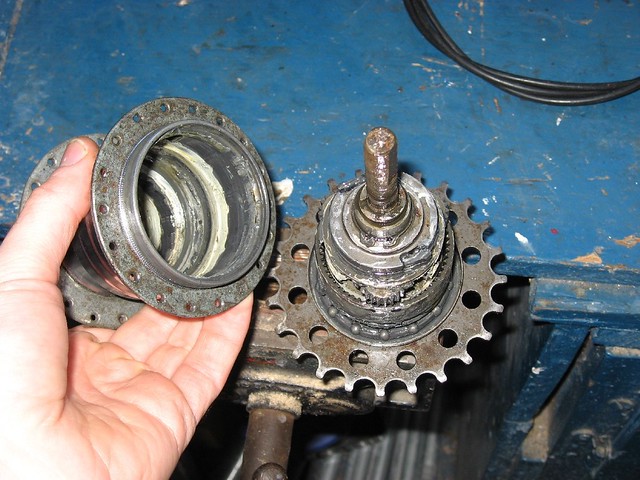
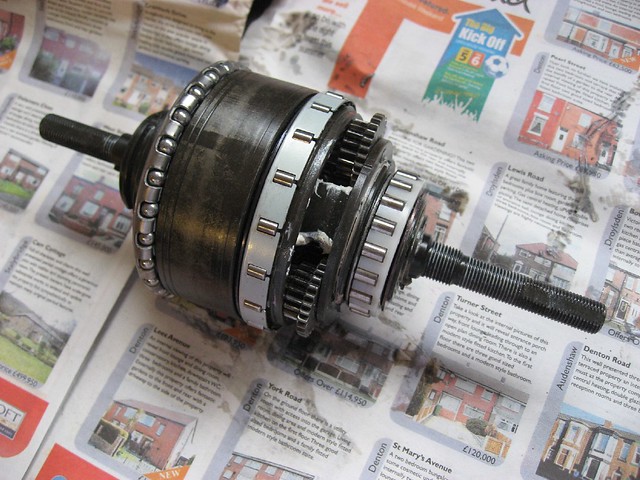
Undo the two nuts to free the hub internals from the shell. It took a bit of a firm tap to free the internals from the hub shell - proof of how well sealed the rubber seal was on the otherside.
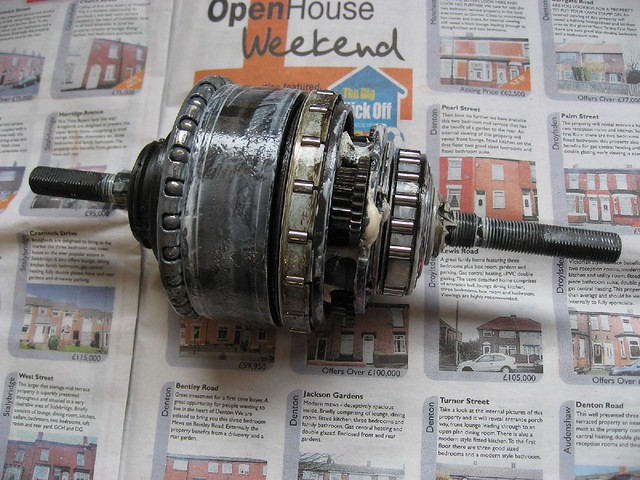
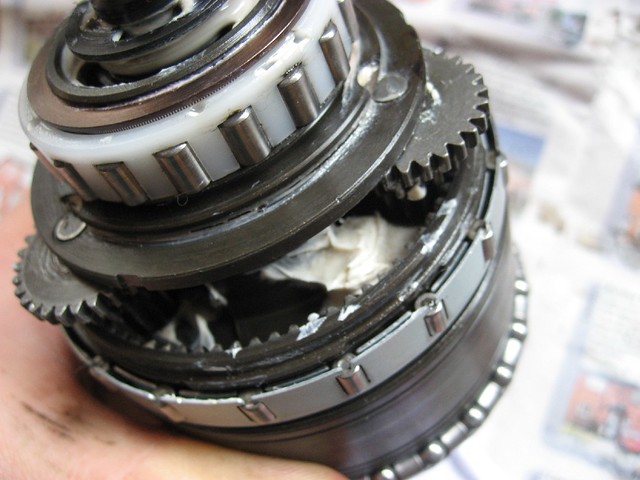
Here is the internals straight from inside the hub shell. Everything was still well coated in grease, albeit a little sparingly. No signs of corrosion or ingress at all.
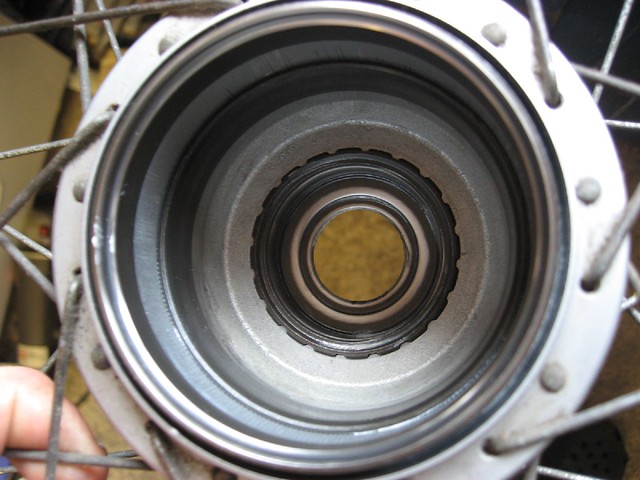
The inside of the hub shell looks like it has just come from the factory.
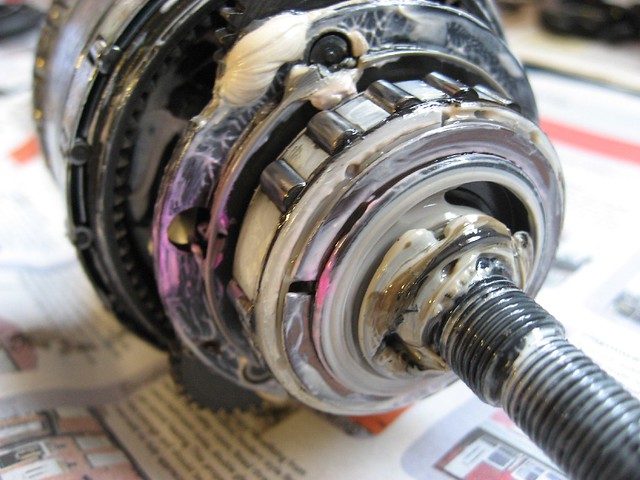
Presumably the pink spots of grease are something from the factory process. Or maybe a marker for Shimano to tell whether or not the hub has been DIY'ed by someone like me. There is a gap in the needle bearings here - No idea why.
I cleaned off the outside grease and removed a bit from these built up areas inside which had collected some dirt.
The grease all wiped off. As you can see the hub is still in great condition.
Inside the shell after giving it a wipe.
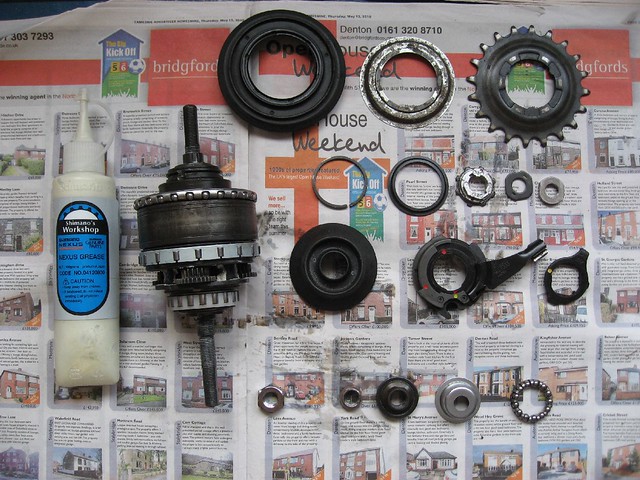
This is as far as the disassembly got.
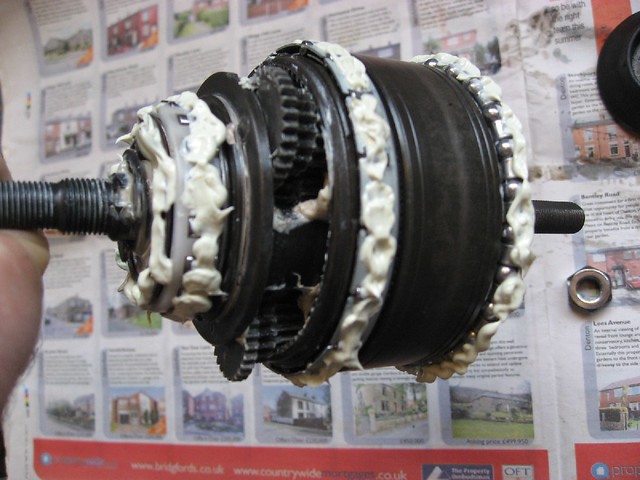
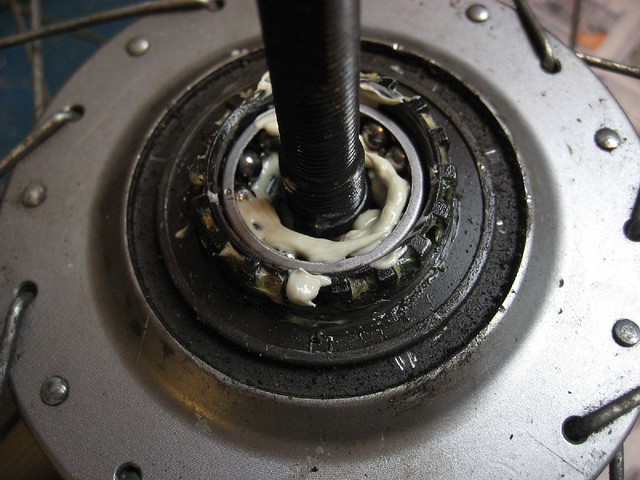
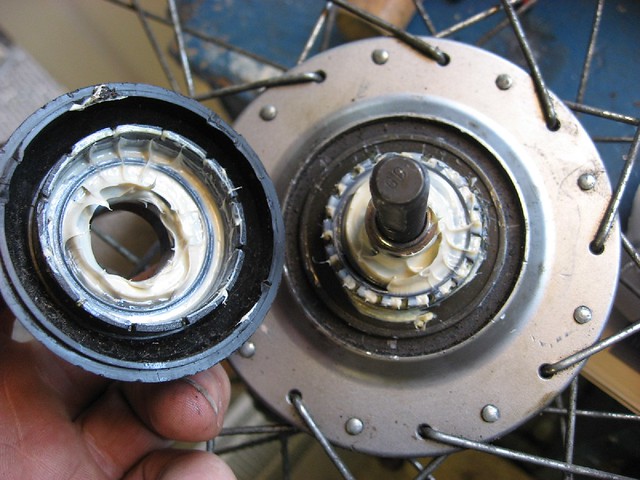
All the bearings got a thorough coating in Shimano's internal hub grease. I followed the example on Golden Wrenches post of how much to put on, but I think this was probably a bit over the top. Better than too little though, I guess.
**UPDATE**: After a few weeks I decided that my gut feeling had been right and that this was too much grease afterall. The hub just felt a bit too draggy in 7/8th gear and wasnt freewheeling as well as it had previously. so I took the internals out again and removed around 2/3rd of the grease. everything then felt alot easier on the legs when cruising at higher speeds.
After putting the internals back in and turning them a couple of times I took it back out and took this photo to show how quickly the grease spreads around to where it's needed.
There'll be lots of excess over the rubber seal ring. The tolerances in this hub are tiny, it's a joy to see after opening 1970's Sturmey Archers with massive gaps all over the place.
Flip the hub over and put the race back in (the correct way up - I always get this wrong - photos help) and grease it.
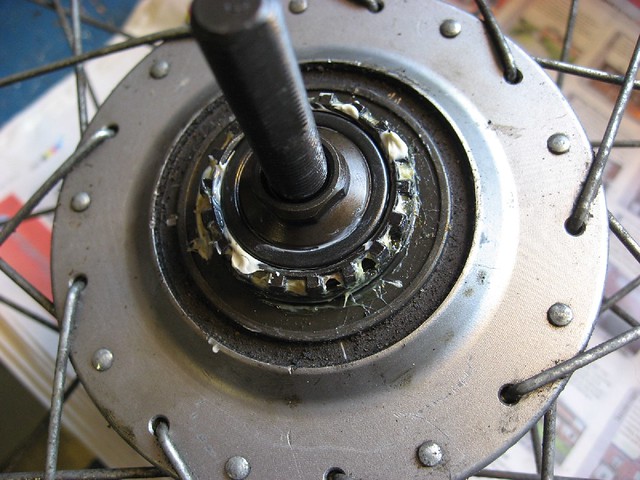
Put the bearing cone back on finger tight. This will lock the internals back in place. Helpfully this screws onto its own seperate thread and not the long axle thread as is the case on many other hubs - that saves a boring task of screwing it all the way back down.
Grease the back of the dust shield and stick in back on.
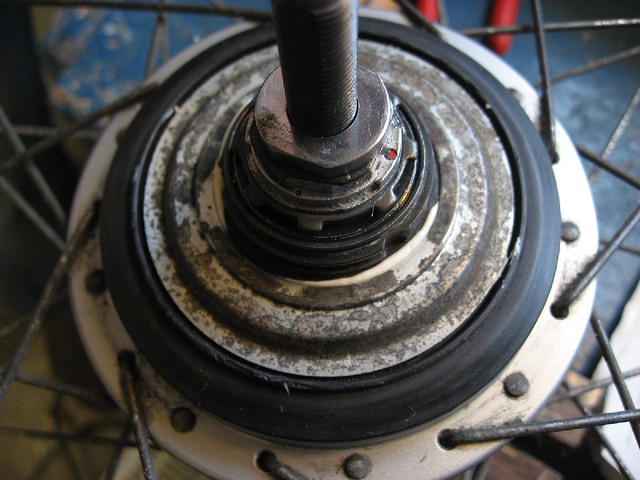
Grease the back of the 2nd metal dust shield and stick that on too. Then refit all the little parts of the gear changer mechanism and lock them in place with the retaining nut.
Then you can refit the sprocket and put the outer gear change mechanism back on by lining up the red dots. then lock this in place with the yellow dotted lock ring.
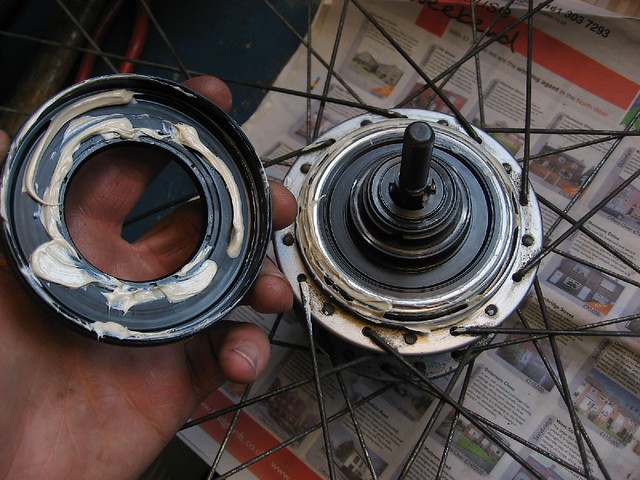
Flip the hub back over and grease up the inside of the rollerbrake attachment cover & stick it on.
Then do the same with the metal cover. Then lock these down with the big retaining nut.
When it's all back together and back in the frame the hub was a tiny bit out of alignment - see the yellow lines don't quite line up.
A couple of twists on the handlebar adjuster and it was back in alignment.
With this done the gear change was immediately nicer and more solid feeling, even though it felt fine beforehand. The was a slight tick when freewheeling in the higher gears of 5-8 which are on a different clutch from gears 1-4, but this bedded in and disappeared after about 30 miles. Job done.


