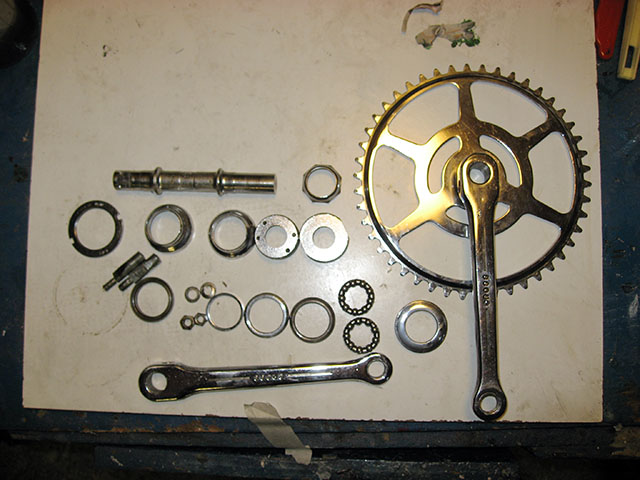
It's been a pretty long time since my last post about the Hopper so here's an update.
All the various parts of bottom bracket, headset and cranks got a good soaking in turps and a rub with some wire wool.
The forks, frame and mudgaurds got sanded down with a combination of a cupbrush on an angle grinder and a dremel for the fiddly bits. No sand papering because thats boring. Then all the bits were given a good wipe down with meths to clear off any dirt as best as I could without actually putting much effort in :-).
In the past I've repainted a bike frame by going through the entire rigmoral of sanding it down, cleaning it up, applying undercoats, colour coats and then layer upon layer of laquer and you know what?....it's a complete waste of time and frankly the most boring process imaginable, plus the results are just not worth the effort to me. So this time I decided to Keep It Simple Stupid and bought a tin of good ol'Hammerite.
Then the entire lot was hung on a wire from the garage ceiling and given a liberal coating of dark green Hammerite. One thick coat is all it needs (ish) directly onto the bare metal, giving a tough shiny finish when you come back the next day which means it takes approximately 1 million less man-hours than spray painting and looks better in the end as well.
After that it was just a case of putting all the bits together, doing a bit of fiddling to get the chain tension right and the gears changing nicely then go for a test ride. (this is near the court in Ashton, just past a big gyratory of mortal peril)

The chain gaurd went on later (when I'd found it). The test ride exposed the rear mudgaurd as being rattly as hell, so the metal hanger for it got a piece of inner tube glued to the underside of it - which worked a treat.
Here it is in all its finished glory :-) its alot of fun to ride and actually has a very relaxed comfortable geometry. The drum brakes are amazing in the 20" wheels and just confirm to me that every bike I own from now on should have internal hub brakes where possible.
 Unfortunately its out of action again now until I get round to replacing the lock washers for the rear hub. The ones I had weren't up to the task and have crumbled to pieces under presumably the torque of the drum brake and me standing on the pedals to test it out. Oops....


Nice job Jim - and well-wrecked with the lock washers!
ReplyDeleteHey is that the stem you had fitted to the Nexus?
It's the same, but not the same one ;-)
ReplyDeleteThat reminds me I should do another Nexus post about that.